Thank You Notes
These are one of the first things I bought after we got engaged: thank you notes for any engagement gifts. Ordered from www.expressionery.com This was before I learned about ordering paper products from Vistaprint when they're free, but they are adorable, so I don't mind that they cost me a few bucks.
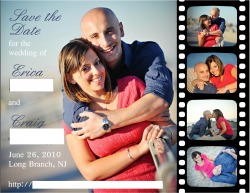
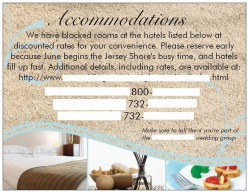
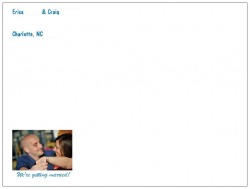
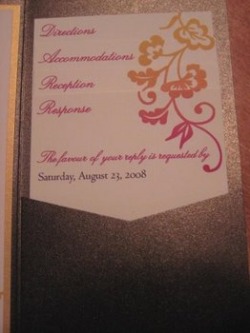
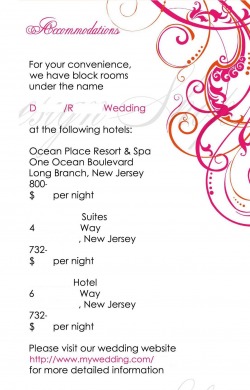
Save The Date Magnets & Accomodation Info
These were designed by my Mom and printed in Vistaprint
Front Back
Envelopes to mail the STDs and accomodation info. My Mom designed them in Vistaprint
250 Free Business Cards from Vistaprint
Program Inspirations
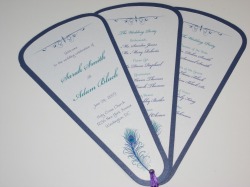
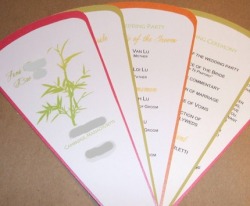
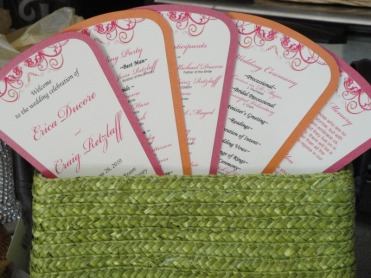
From day one, I wanted these fan programs, and nobody could change my mind. Yeah...I know they're just paper that people are going to throw out afterwards, but you can say that about almost anything. This is one of my 'must haves' that make absolutely no sense, and every bride's alllowed to have a few of those. At first, my Mom and I thought we could DIY them easily ourselves. We found several different formats online (and got a wondeful little computer virus in the process), and found several blogs explaining how to make them. My Mom made a 'test' one using printer paper, then emailed me and told me there was "no way in hell" she was helping me with these. She said she couldn't even calculate the amount of stress that will be generated by having to cut out 500 of these blades - by hand - weeks before the wedding. I admit...she had a point. I still wanted them but couldn't justify spending $400-$500 for these to be done professionally. Then my Mom found
pre-cut blades on card stock for the DIYer!! We could do 100 5-blade fans for only $150. Plus postage and handling....plus ink.....plus grommets. Okay...so they'd cost closer to $2 a fan. And all we'd have to worry about is printer jams...and making sure the wording printing on the pre-cut blades for all 250 pages...and then still having to punch out 500 blades (and hopefully not ripping any) and then still having to cut off the little nubbies. Finally....Mom sent the email: Screw it! Let's just pay somebody to make these and get this off our list. I found a woman on etsy,
SimplyFKJ who is only charging $2.75 for a 5-blade layered program (see photo on top, left). The cardstock on the bottom will be any color I want (probably raspberry, but might go with raspberry and orange) and the linen paper on top is ivory. She sent me a sample and I love the quality!
Our Programs
Invitations
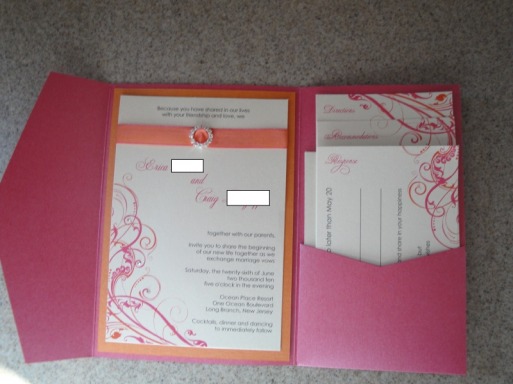
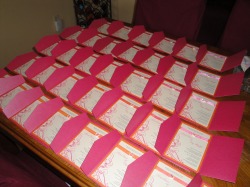
I've finally started working on these. After going through invitation books and looking online, I couldn't find any I loved, so decided I needed to work with a graphic designer in order to take elements from different invites I liked to create something unique. We'll also be able to create all the coordinating paper products, such as the menu, table numbers and place cards. Jessica's Design Shop will be creating the design and doing all the printing, but I'm pretty sure my Mom and I are going to do the assembly in order to save some money. I just order some sample pocketfolds, invitation mats and envelopes from two different internet sites, hoping to find the right colors. The pictures below are our starting off point.
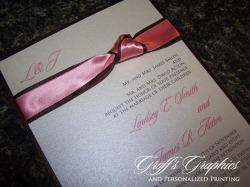
In Oct, I flew up to NJ and spent a day in Manhattan. At the Shindo ribbon store, I was able to find the perfect ribbon for the invitations. It is an orange/raspberry irridecent ribbon that perfectly ties in the raspberry pocketfolds I decided on, with the orange accents. I ordered enough ribbon for the invitations and the menus and bought a wider version of the same ribbon for the wedding cake.
I like the look of the two colored ribbons, and the placement on the invitation. I'm thinking of orange where the black ribbon is and raspberry where the raspberry is.
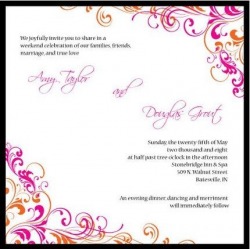
I want a swirl-y graphic, similar to this, in raspberry and orange.
I want the graphics on the enclosure cards to form one large graphic, when stacked together.
I like how the rhinestone buckle is on this ribbon, instead of a knot. Not sure if it's in the budget. I might just glue some rhinestones on the ribbon.
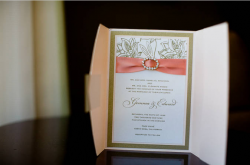
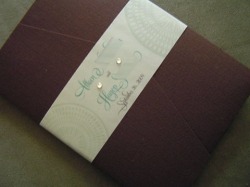
This is basically how I invision the invite, only with ribbon and crystals. The invitation will be on ivory, the mat will be orange and the pocketfold will be raspberry.
We'll seal the invitation with a cardstock belly band with our monogram and some crystals.
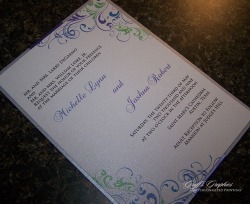
Our Invitations
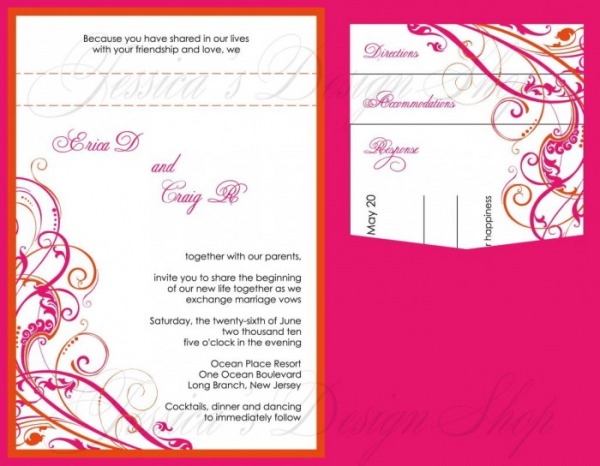
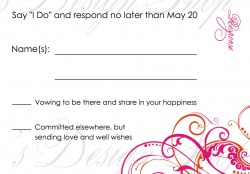
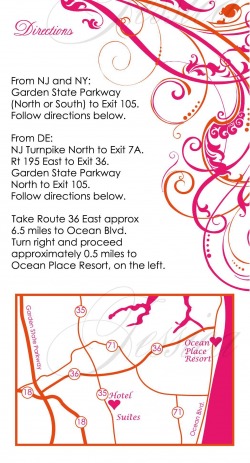
These are the proofs from our graphic designer. We're proofreading them now, but these are essentially what they'll look like. I am thrilled beyond words. Jessica captured my exact envision. Where the dashed lines are is where the ribbon and rhinestone buckle will go. Obviously, I've taken out our full last names and the hotel block info.
Final Invitation
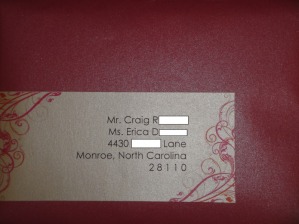
Front of address label
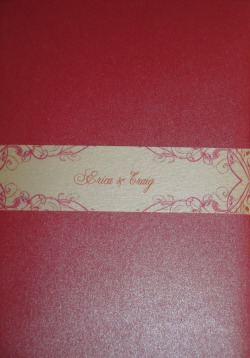
Traditionally, invitations have an 'inner' envelope, where the invitation and all enclosure cards are put, and the names of the people actually invited are written on the outside. The inner envelope is then placed inside an 'outer' envelope, which has the mailing address. Since we were doing pocketfold invitations, an inner envelope wouldn't work. We did, however, want to somehow personalize our invitations for our guests. My Mom came up with the idea of putting the invited guests' names on the belly band, in lieu of our monogram. For example, for my Godmother, we put "Aunt Bernadette & Domenick" and for my Grandmother, we put "Nana". It took a little bit of time to create one for each invitation, but it was so definately worth it. I've lost count of the number of comments we received from people, saying how touched they were that we personalized the invitation just for them. To the left is a picture of our invite with a personalized belly band we made for ourselves.
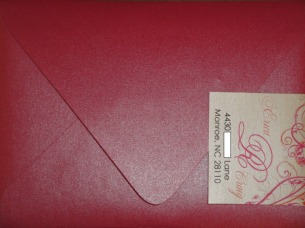
Back of address label
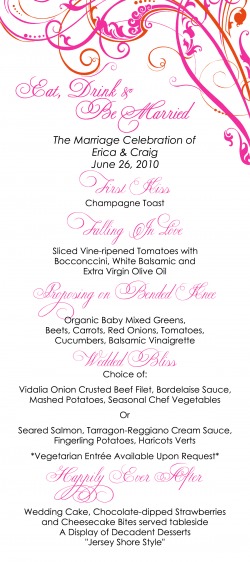
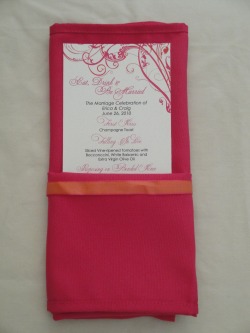
Menus
These were designed by Jessica's Design Shop, to match our invitations, and printed at Staples. To the right is a mock up of how they'll be placed in the napkins on the table.
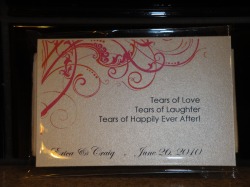
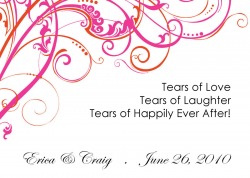
Tissue Packets
This is my Mom's project. She found purse size tissue packs at The Christmas Tree Store....10 packs for $1. Then on eBay, she found clear envelopes (made from the same material as the protective plastic on greeting cards)....100 for $5.50. She'll print up a card with the saying below in our wedding colors, and using half the tissue in each pack for each envelope, will have 100 of these "Tears Of Joy" for a little more than $10 total.
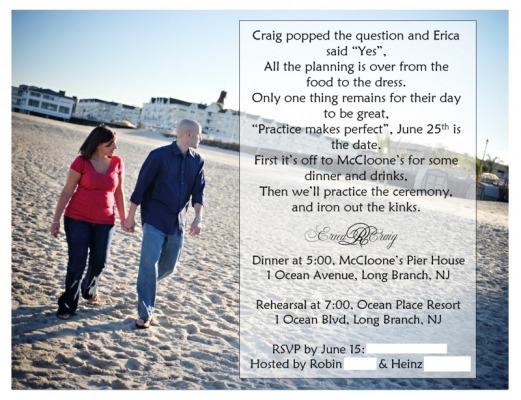
Rehearsal Dinner Invite
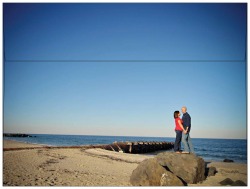
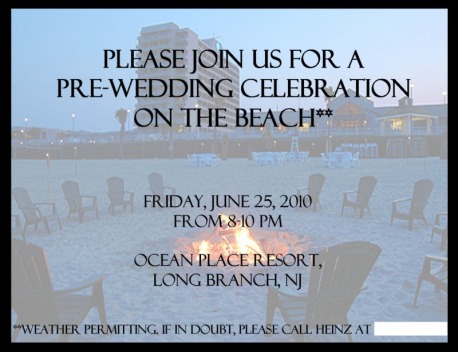
My fabulous sister designed both the rehearsal and bon fire invites, and we had them printed in Vistaprint for pennies. For the rehearsal dinner invites, she used a photo from our engagement session which shows the actual restaurant in the background (the building all the way to the left, with the big, square windows). The photo for the bon fire was taken directly from the hotel's website where we'll be having the bon fire. We printed these as postcards and will be placing them in the out of town pails, as well as mailing them to local family and friends.
Bon Fire Invites
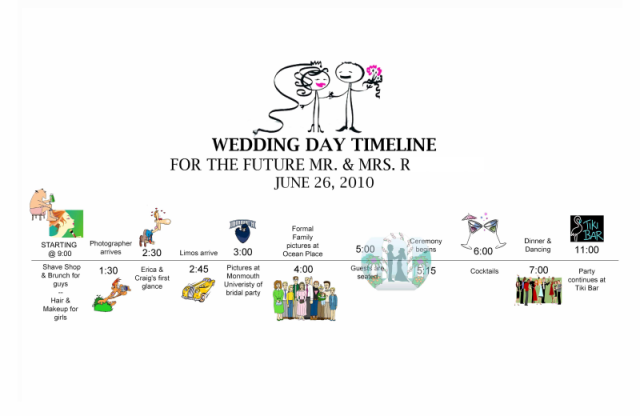
Day of Timeline
I had these printed up on 6x9 cardstock, for each person in the bridal party. I also had two 11x14 posters made...one for the girls' room and one for the boys' room. Another one of my sister's great designs.